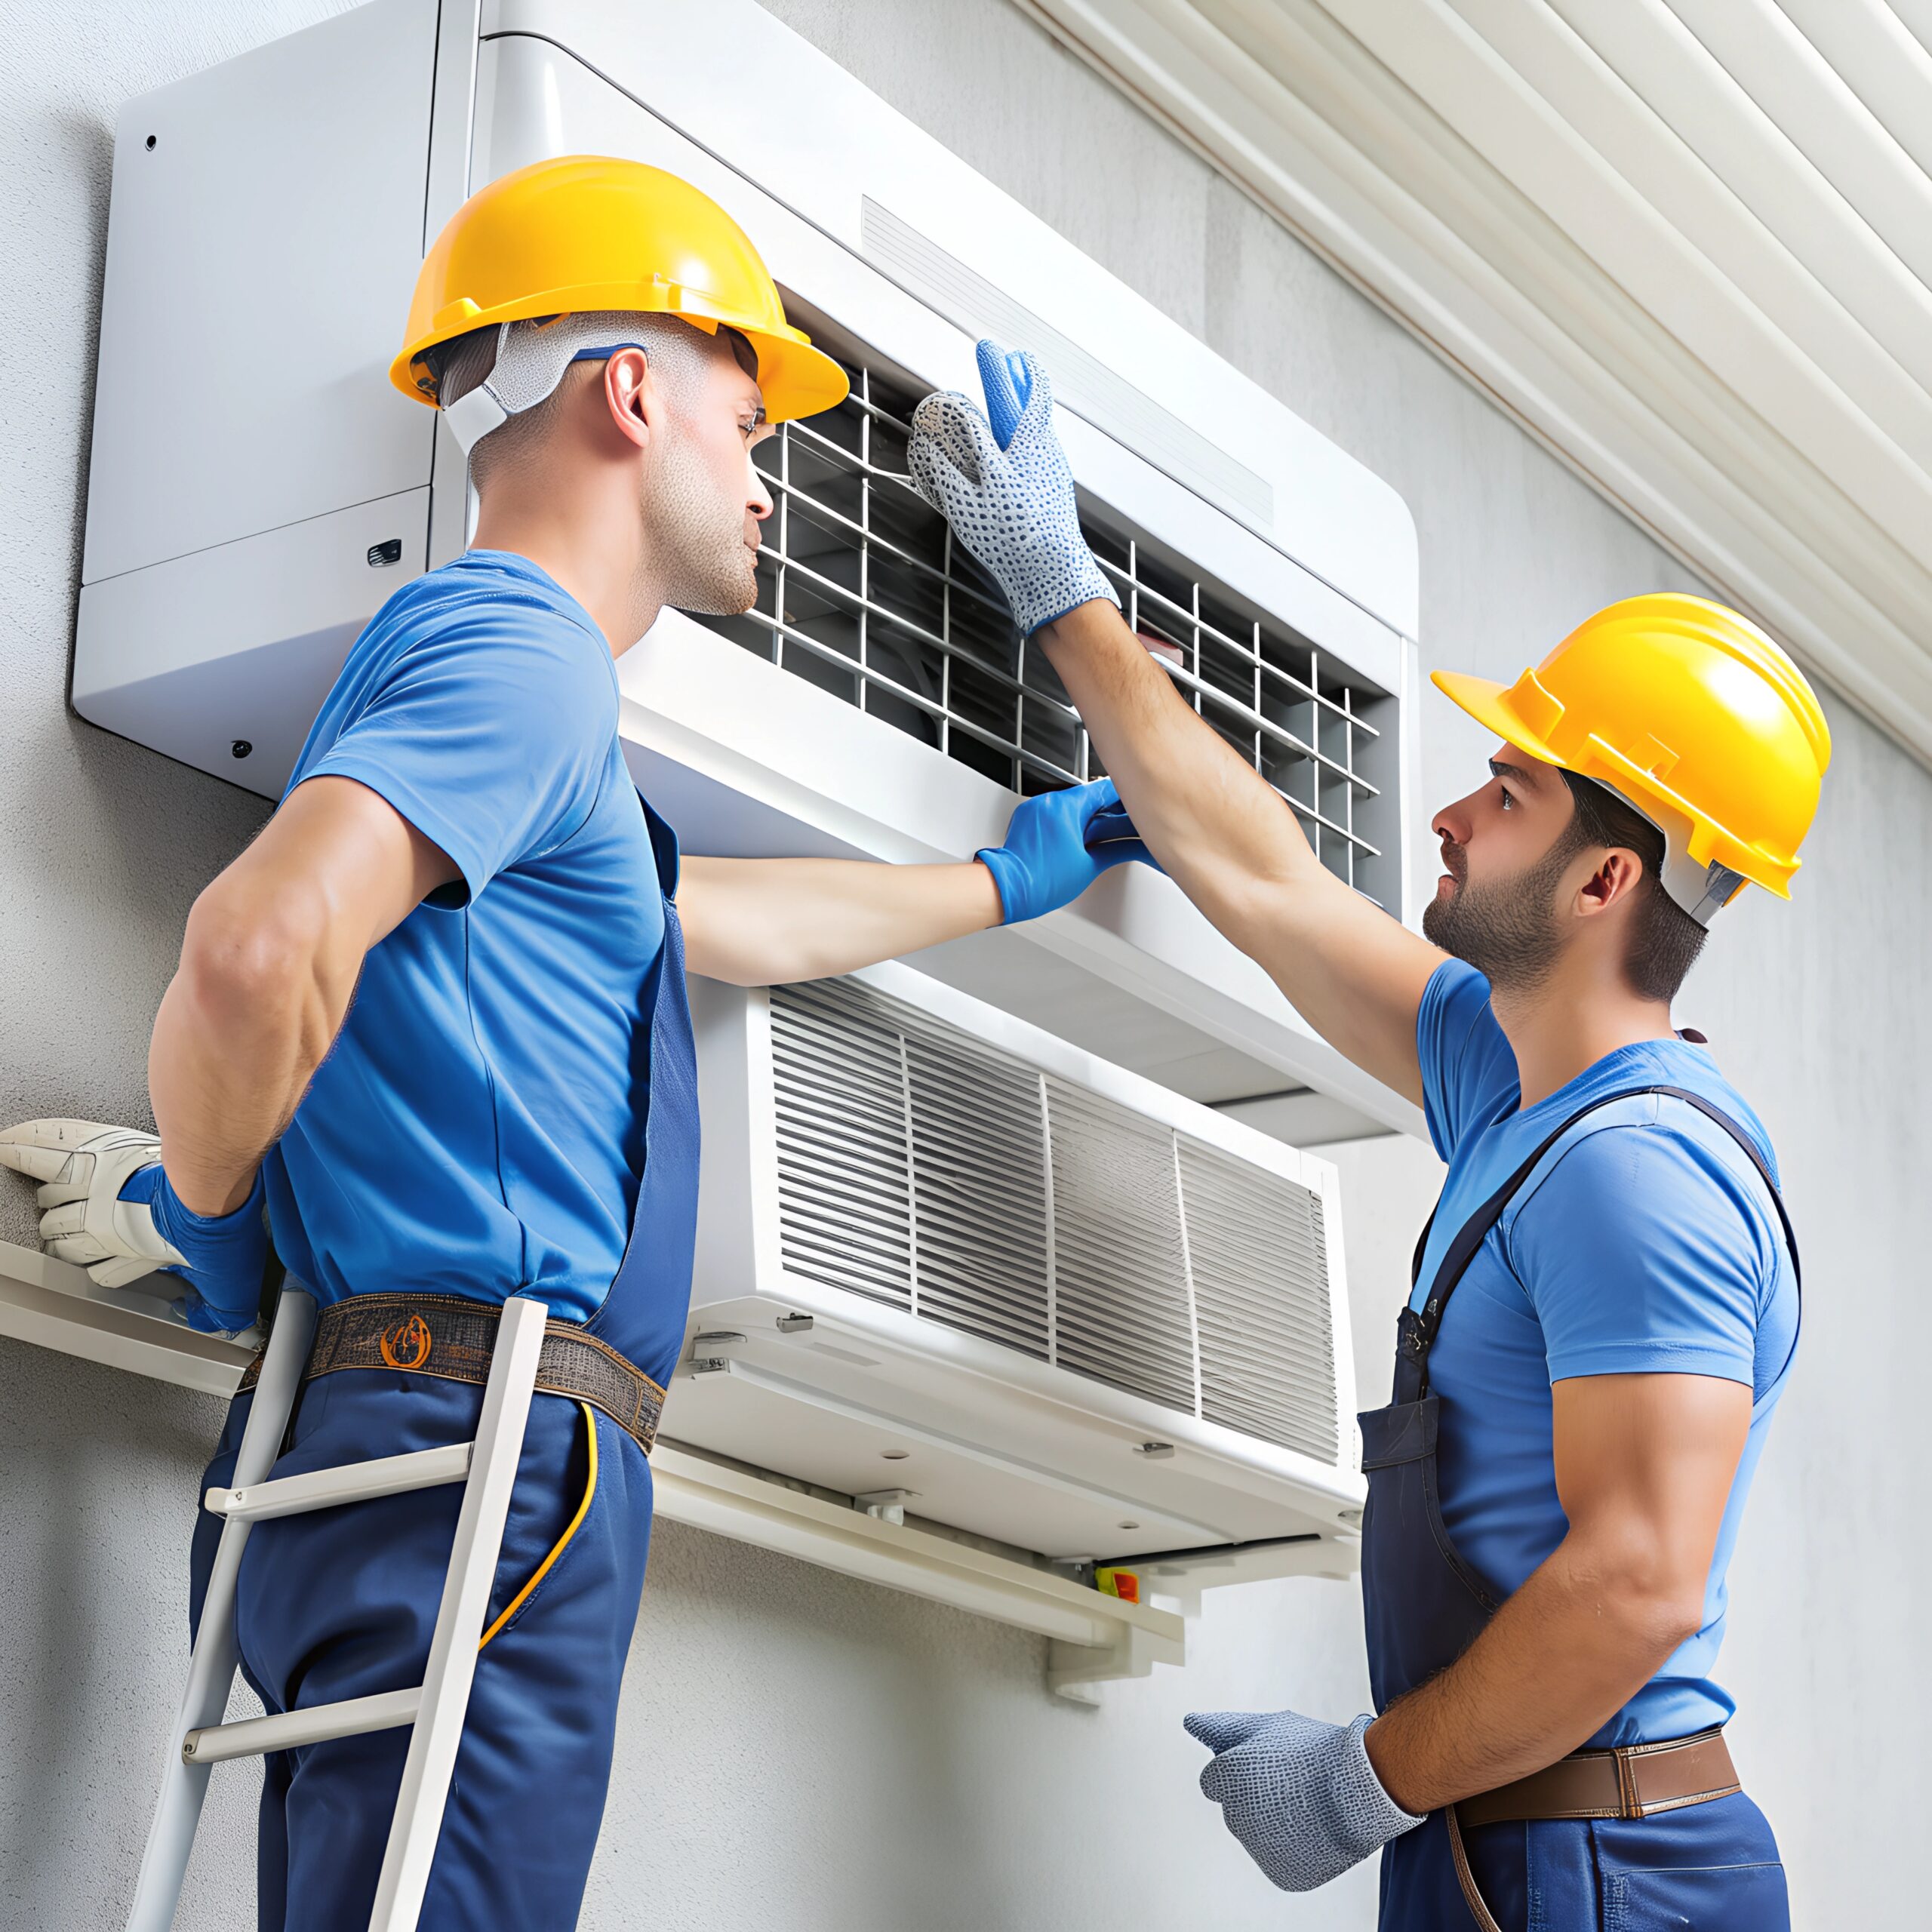
Facing a chilly reception in one of your rooms because the baseboard heater’s decided to give you the cold shoulder? You’re not alone. When one room turns into an icebox despite the rest of your home being snug as a bug, it’s a sure sign something’s amiss with your heating setup.
In this article, we’ll delve into the common culprits behind a baseboard heater’s lacklustre performance in one room. We’ll guide you through troubleshooting steps to identify and fix the issue so you can reclaim your cosy space. Get ready to roll up your sleeves and bring the warmth back to every corner of your home.
Common Causes for Baseboard Heater Malfunction
When your baseboard heater isn’t warming up a specific room, there are several potential causes. Understanding these can help you pinpoint the issue and take corrective action swiftly.
Electrical Issues
Faulty wiring or a tripped circuit breaker can often be the culprit when a heater fails. Check your main electrical panel to ensure the circuit hasn’t tripped. If it has, resetting it may solve the problem. Additionally, ensure that the heater’s own thermostat is set correctly and functioning.
Blocked Heating Elements
Over time, baseboard heaters can accumulate dust and debris which block the heating elements and prevent proper airflow. This can be resolved by cleaning the heater to remove any obstructions that are hindering its performance.
Thermostat Malfunction
The thermostat is a critical component in regulating your heater’s temperature. If it’s not accurately detecting the temperature:
- The room could remain cold due to insufficient heating.
- Alternatively, it may lead to overheating if the cut-off mechanism is faulty.
Hydronic System Issues
If your baseboard heater uses a hydronic system, air locked in the pipes or a malfunctioning pump can cause uneven heating distribution. Regular maintenance, such as bleeding the pipes, might be necessary to ensure optimal operation.
To effectively address these common issues, you’ll want to start by systematically checking each potential problem area. By doing so, you’re more likely to identify the reason your baseboard heater isn’t operating effectively in the specific room. Remember, handling electrical components can be dangerous; do not hesitate to contact a professional if you’re unsure about any steps in the troubleshooting process.
Checking for Airflow Obstructions
When your baseboard heater isn’t warming up a room as it should, one common issue to look out for is airflow obstruction. Baseboard heaters rely on the natural flow of air to distribute warmth, and any blockage can severely impede their performance.
First and foremost, examine the heater to ensure that no furniture or drapes are too close to it. These items can trap heat that should be circulating into your room. Keep at least a 12-inch clearance from the heater to promote proper airflow.
Additionally, check for a build-up of dust and debris inside the unit. Over time, a layer of these materials can accumulate and act as insulation over the heating element, preventing it from effectively emitting heat. Cleaning the heater can be a straightforward task:
- Turn off the heater and let it cool down.
- Using a vacuum with a brush attachment, gently remove dust from the fins.
- For any remaining debris, use a fin comb to straighten any bent fins and to ensure optimal air passage between them.
Remember to also inspect the external air intake and exhaust vents for blockages. Outdoor debris, such as leaves or nests, can restrict airflow and should be cleared away to ensure your system operates efficiently.
If the air paths are clear and you’re still facing issues, it’s time to delve deeper into other components such as the thermostat or the heater’s electrical connections.
Inspecting the Thermostat
When facing a baseboard heater that’s not working in one room, thermostat issues are a common source of trouble. An incorrectly calibrated or malfunctioning thermostat can prevent your heater from activating. Ensure the thermostat is set to a temperature higher than the room’s current temperature to trigger the heating mechanism.
Check the Calibration
Thermostats can become uncalibrated, leading to inaccurate temperature control. To test calibration:
- Turn the thermostat to the highest setting.
- Listen for a click sound from the heater, indicating activation.
If you don’t hear a click, the thermostat may need recalibration or replacement.
Wiring and Power Supply
Faulty wiring or power supply problems can also prevent the thermostat from functioning properly. To check:
- Turn off the power to the heater.
- Remove the thermostat cover and inspect wires for looseness or damage.
- Verify that the power supply to the thermostat is operational.
Digital vs Mechanical Thermostats
Modern digital thermostats generally provide more accurate readings than their mechanical counterparts. However, they can fail due to:
- Dead batteries
- Incorrect settings
- Malfunctions
Replace batteries periodically and review the user settings if you use a digital thermostat. If you have a mechanical one, consider upgrading for greater accuracy and efficiency.
Verify the Location
The thermostat should be located on an interior wall away from drafts, direct sunlight, and other sources of heat or cold. An improperly placed thermostat can misread the actual room temperature, leading to inadequate heating. Adjust the location if necessary.
Remember to handle electrical components cautiously and consider hiring a professional for repairs if you’re not confident in your skills. Regular maintenance and prompt repairs can extend the life of your baseboard heater and ensure consistent warmth in every room of your home.
Assessing the Electrical Connections
When your baseboard heater fails to warm up a specific room, inspecting the electrical connections becomes imperative. Faulty wiring or loose connections could be to blame. First off, ensure the circuit breaker hasn’t tripped and the fuse pertaining to the heater’s circuit is intact. A tripped breaker or blown fuse indicates electrical surges that might have compromised your heater’s operation.
Once you’ve confirmed the circuit is active, you’ll need to verify the voltage at the heater. Switch off power to the unit before removing the heater cover for safety. Use a multimeter to test the voltage at the supply wires leading to the heater. Proper voltage readings are crucial for the heater function. If the readings are inconsistent with your baseboard heater specifications, there may be a wider electrical issue at hand.
Check for charred wires or scorching at the connection points, as these are telltale signs of electrical problems. Secure any loose connections you encounter and replace damaged wires or components. Given the risks involved with handling electrical systems, if you’re not confident, hire a professional electrician.
Continually monitoring and maintaining your baseboard heater’s electrical connections can prevent future disruptions. Regular checks after any electrical anomalies in your home can save you from the hassle of dealing with a cold room when the winter chill sets in.
Remember, electrical maintenance not only ensures your baseboard heater functions efficiently but also plays a critical role in your household safety.
Examining the Heating Element
When you’ve ruled out airflow obstructions, it’s time to delve into the heating element itself. The malfunction of a single baseboard heater in your home often points to an issue with this component. Heating elements can deteriorate over time or succumb to electrical problems that prevent them from warming up efficiently.
Start by ensuring the unit is turned off and cool. Carefully remove the heater cover to access the element. Look for any visible signs of damage, such as:
- Burn marks
- Blistering
- Broken coils
These could be indicative of an element that needs replacing. Additionally, an Ohm meter can be used to test the continuity of the heating element. A lack of continuity implies a faulty element. Refer to the manufacturer’s specifications for acceptable resistance values and compare them to your readings.
If you’re unfamiliar with handling electrical components, it’s safer to enlist the services of a qualified technician. They can also check for less obvious problems like a failing high-limit switch, a safety device that prevents overheating, which may be faulty and cutting power to the heating element prematurely.
Keep in mind that baseboard heaters operate on high voltage. Any work involving electrical parts entails a significant risk and must be approached with respect and caution. Regular inspections can help catch element issues early on, before they escalate into bigger setbacks that could leave a room in the cold.
Conclusion
Tackling a baseboard heater that’s not working in one room can be straightforward if you know where to look. Remember to inspect for any airflow obstructions and clean your unit regularly to prevent dust build-up. If your thermostat is the issue, ensure it’s properly calibrated and positioned. And don’t forget, dealing with electrical components requires caution. If you’re not confident, it’s always best to call in a professional. By keeping up with regular maintenance and addressing repairs promptly, you’ll keep your heater running efficiently and your room comfortably warm. Stay vigilant with those electrical connections and heating elements, and don’t hesitate to seek expert help for complex issues. Your cozy, well-heated space is worth the effort.
Related Posts:
- Easy Guide: How to Turn Off Your Baseboard Heater Safely
- Pentair MasterTemp 400: Fix a Flashing Heating Light…
- Upgrade Home Living with ComfortPlan: Smart Savings…
- Pentair MasterTemp 400: Fixing the Service Heater…
- Fixing an RV Water Heater Switch: Troubleshooting Tips
- Dometic Water Heater Fuse Issues: Troubleshooting & Fixes


