
Ever imagined building your own air conditioner? It’s not as daunting as it sounds. In fact, it’s a project that’s within reach for most DIY enthusiasts. In this text, we’ll guide you through the process, breaking down the steps into easily digestible chunks.
You’ll be surprised how a few basic materials and a little bit of know-how can transform into a fully functioning air conditioner. So, if you’re ready for a hands-on challenge that’ll keep you cool, read on. It’s time to turn the heat down and your DIY skills up.
Understanding the Basics of Air Conditioning
Diving into the world of air conditioning can be quite fascinating. So, let’s investigate into the basic concepts involved in making an air conditioner, starting from understanding what it actually is, moving onto identifying its key components.
What Is an Air Conditioner?
An air conditioner, often presented as AC, acts as a comfort providing mechanism, significantly lowering the overall temperature of your living space. It’s not a mere fan whirling around air. Instead, it’s a complex system that employs scientific principles to extract heat from your environment. It uniquely utilises the nature of specific substances to absorb thermal energy, turning the stifling ambient heat into a chill, energising atmosphere.
Key Components of Air Conditioners
Air conditioners operate through a myriad of components working in harmony. Keep in mind, each part has its definitive role in the overall cooling function.
- Compressor: The heart, or rather, the engine of an AC. It’s where the refrigerant (a specific type of fluid) is compressed, raising its temperature and pressure.
- Condenser: Serving as the hot side of your air conditioner, the condenser is where the high-pressure gas condenses into a high-pressure liquid.
- Expansion Valve: It’s a gateway governing the transition from high-pressure territory to a low-pressure zone where the refrigerant cools down.
- Evaporator Coil: It’s the cold end of your AC. Here, the liquid refrigerant absorbs heat from the room, evaporates into a gas again and cools your space in the process.
- Air Handling Unit: This component aids the circulation of cool air in your room, essentially a sophisticated fan.
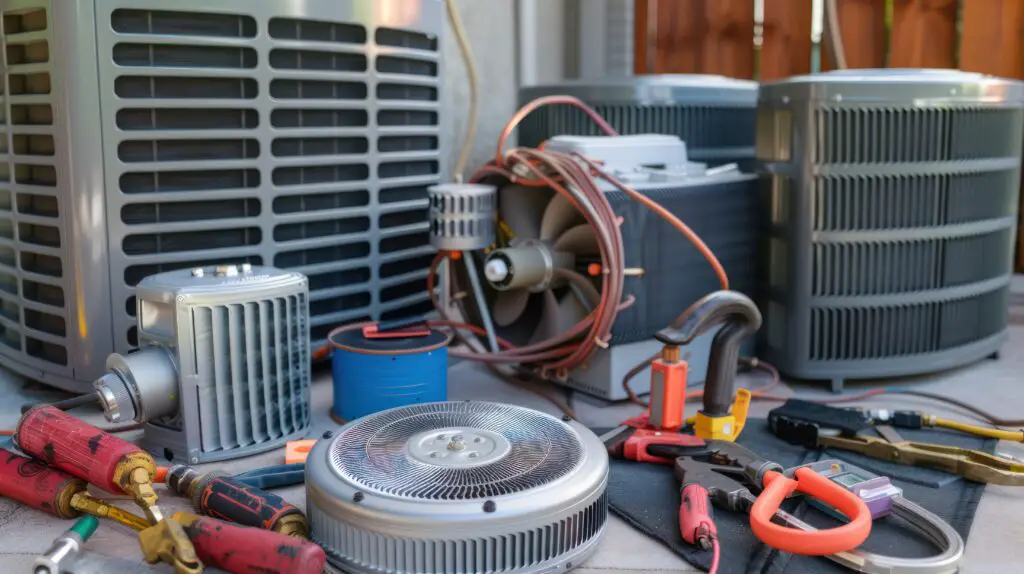
Required Tools and Materials
Starting on an invigorating journey to build your own air conditioner involves gathering certain tools and materials. Let’s explore the treasured toolbox of DIY air conditioning and the materials it needs to host.
Essential Tools for DIY Air Conditioning
Undertaking any DIY project requires a well-curated toolset. In the case of a homemade air conditioner, several important tools make the process manageable and efficient.
- Screwdriver: A screwdriver, for instance, paves the way for the project, aiding in the assembly and disassembly of components.
- Pliers: Pliers, such as needle-nose and linesman, add precision to this process by offering a firm hand in dealing with the finer details.
- Wire Cutter: Crafting an air conditioner also calls for a wire cutter. It lends a sharp edge, cutting through wires with great ease.
- Utility Knife: The utility knife, another handy tool on this journey, proves its worth in cutting insulation tape.
- Drill: Finally, a drill becomes certainly beneficial, enabling holes for routing wires and securing components.
Remember, working safely with these tools is just as significant as having them.
Materials Needed to Build Your Own Air Conditioner
Now that you’re familiar with the tool-set, let’s investigate into the list of required materials to construct your air conditioner.
- Cooling Element: The cooling element resides at the heart of your DIY air conditioner, such as a small radiator or an evaporative cooling pad.
- Airflow System: A fan or blower acts as a key player in the airflow system of your DIY air conditioner, facilitating the circulation of cool air.
- Case: A case, usually a plastic or metal box, is required to house all the components.
- Insulation Material: Insulation material serves as a protector, ensuring that cool air remains within the system.
- Coolant: Finally, a coolant or refrigerant, cooling the air as it passes over the cooling element.
By ticking off each item on this list, you’re one step closer to creating a functioning homemade air conditioner. Eventually, your passion, paired with the right tools and materials, becomes the real game-changer in this DIY venture.
Step-by-Step Guide to Making an Air Conditioner
Design and Planning
Starting on the journey of designing your DIY air conditioner involves laying out a precise blueprint. Here’s how:
- Define the size of your air conditioner. Keep in mind, the size directly relates to its cooling capacity. Larger units tend to cool bigger spaces.
- Detail the layout for placement of components – cooling element, air circulation system, etc. Maintain a layout optimizing efficiency and easy assembly.
- Choose an appropriate case. Consider insulation properties, durability, and ease of handling.
- Sketch the arrangement that channels air smoothly through the unit. Remember, the path needs to carry warm air in, across the cooling element, and carry cooled air out.
- Plan the process of adding a coolant or refrigerant. Always bear in mind that safety is paramount.
Assembling the Components
Once the blueprint is ready, you’ll proceed to the assembly stage:
- Start by preparing the case, drilling necessary holes for ventilation and fastening of components. Also, designate a spot for your thermometer.
- Mount the cooling element in place, securing it firmly.
- Install the airflow system, ensuring it’s correctly aligned to direct air across the cooling element.
- Apply insulation inside the case where necessary. This’ll help maintain temperature.
- Create a safe system for adding your coolant or refrigerant.
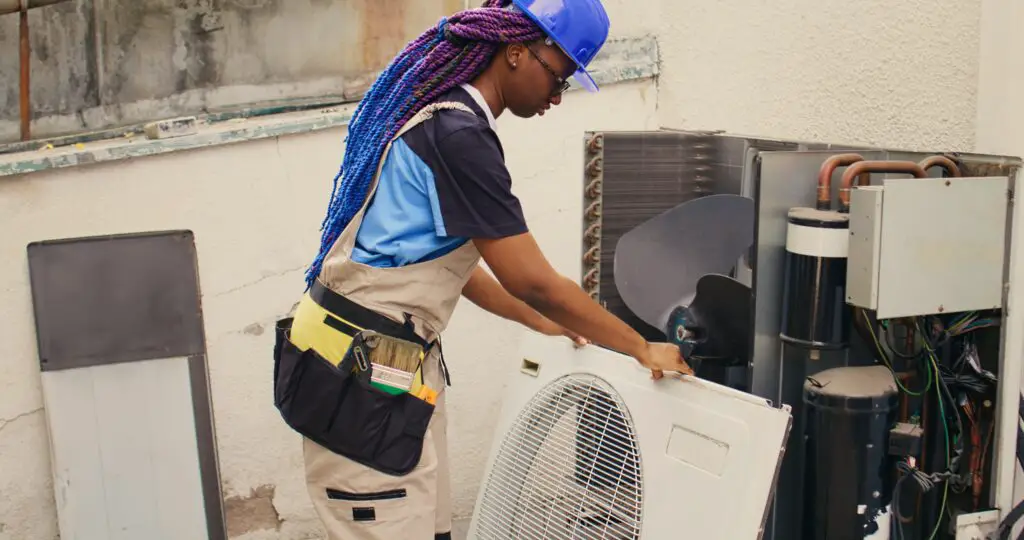
Installation and Testing
With assembly completed, you’re now ready for the installation and testing phase:
- Position the DIY air conditioner appropriately, considering factors like air flow and power source.
- Make final connections, attaching the temperature control mechanism and thermostat.
- Add the coolant or refrigerant, carefully following safety measures.
- Power up your unit and observe its operation. Analyse if the cooling and ventilation are working as planned.
- Track temperature changes using thermometer readings, this would validate the efficiency of your DIY air conditioner.
Maintenance Tips for Homemade Air Conditioners
After crafting your own homemade air conditioner, maintenance becomes a crucial aspect. Ensuring your DIY air conditioner functions efficiently over time requires regular check-ups and quick fixes. This section concentrates on providing insightful tips for both routine maintenance and troubleshooting common problems.
Routine Maintenance Practices
Routine maintenance generates longevity for your homemade air conditioner. By carrying out these practices, you prevent extensive future malfunctions.
- Cleaning: Make cleaning a regular routine. Dust and debris can clog your system, reducing its efficiency. Clean every part of your air conditioner monthly; this includes the evaporator, condenser coils, and filters. Use a soft brush or compressed air for smaller, harder-to-reach areas.
- Inspecting: Regular observation of your system helps spot issues early. Check every component of your air conditioner regularly to catch any visible signs of wear and tear. Look for fraying on wires, leaks in the coolant system, or inconsistencies in the airflow path.
- Testing: It’s also vital to test your system regularly. Conduct a performance test by observing any temperature changes and monitoring the time it takes to achieve desired cooling. If your air conditioner is suddenly struggling to cool a room, it could signal a problem.
Troubleshooting Common Issues
Detecting and resolving common issues aids your DIY air conditioner’s productivity. Here are the frequent problems you might encounter:
- Insufficient Cooling: One common issue is the air conditioner not cooling enough. If this happens, examine the coolant level or the integrity of your evaporator and condenser coils. Dust and debris build-up can also impede performance.
- Leaks: If you spot a leakage, the coolant system is often the culprit. Ensure that all connections are tight, and the coolant reservoir doesn’t have any visible cracks or damage.
- Airflow Disruptions: Always check the airflow path for blockages or obstructions. Ensure the air passages are clear, not overly bent or restricted.
Maintaining your air conditioner, coupled with these troubleshooting tips, allows you to enjoy the fruits of your labour for longer periods. Remember, consistency in observation helps maintain the best functionality of your homemade air conditioner.
Conclusion
So, you’ve journeyed through the nitty-gritty of making your own air conditioner. You’ve got to grips with the basics, understood the necessary tools, and followed the step-by-step guide. You’ve even learnt how to maintain your DIY air conditioner for optimal performance and longevity. Now you’re equipped with all the knowledge you need to build, install and maintain an efficient air conditioner. Remember, regular check-ups are key to long-lasting efficiency. Don’t forget to troubleshoot any issues that might arise. With this newfound skill, you’re not just saving money, but also crafting a cooling solution tailored to your needs. So go ahead, put this knowledge to the test and enjoy the comfort of your DIY air conditioner.